These wooden hatchway doors just crumbled in my hands, trying to lift these hatchway doors. They are about to be replaced!!

Below, can you see the new piece of CDX plywood, which will become a replacement door. I first cut the plywood to size. And in the picture below, he old door is sitting on top of the new door. See how much of the old door rotted away!

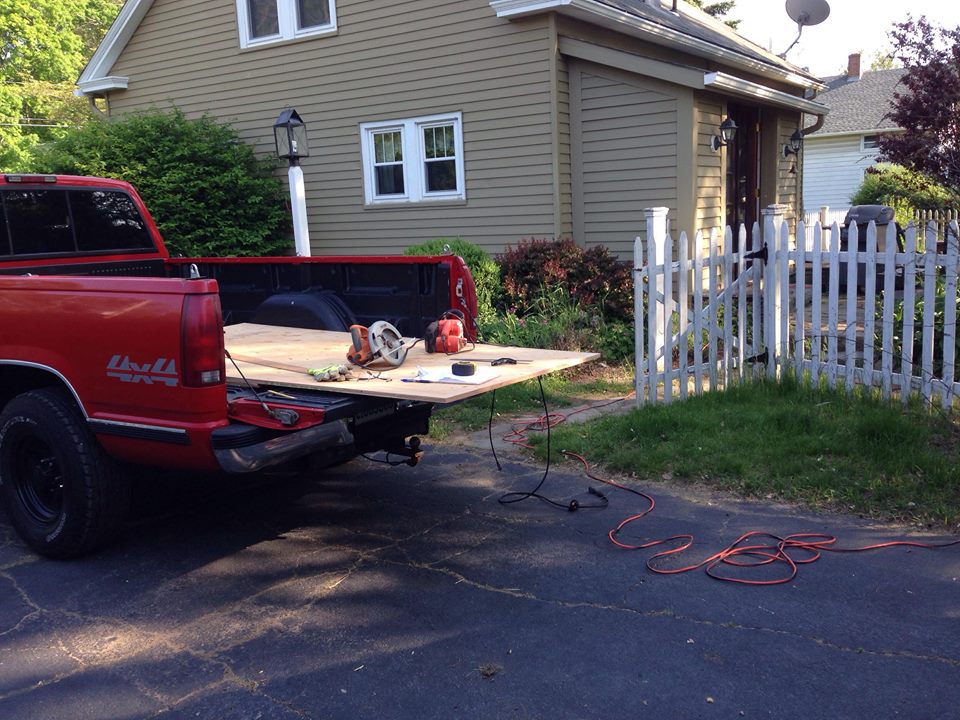
Before cutting the plywood sheets, you can see the new uncut plywood with measuring, cutting and sanding tools! The pickup tail gate makes a sufficient work bench.

After cutting and sanding the doors, four or five coats of oil-based Rust-oleum should keep the doors in good shape for a couple years! Below, are the partially painted doors (white) against the garage.

Below, voila the new doors! I kept the old hinges. You can see the new handles, and new bolts holding a new plank at the overlap! Eventually I'll paint it to match the house.

Meanwhile the back yard,

and the misty field beyond,

are not taking long to get used to.

Yellow irises:

Stuart!

Purple irises are in the photo below. The garden is further back in this picture below. Posts surround the garden, and the posts hold up plastic netting to surround the garden and protect it from deer and other hungry beasts. Work on the garden is about to begin. A pile of vines that I pulled out can be seen in the center of the garden. Sore legs for days, after pulling up feisty vines. Vines were were taking over the posts and netting around the garden.

In the photo below, you see a crumpled plastic cover which is to keep weeds down. At this point I am in process of pulling the cover up, so I can till the soil.


You can't see it, but in the truck are bags of lime and composted manure, to mix into the garden.
Below is the roto-tiller. It came with my first house and I've held on to it. Blades in the tiller will mix and loosen soil to several inchess deep.

Below, the garden plot is ready to be tilled, with roots and weeds raked away.

Below are bags of manure (purple) and lime (white). The dark splotches are manure, and the white is powdered lime, from a couple bags which I've already emptied. Next, I'll spread the manure and lime around, then mix it into the soil using the roto-tiller.

Below is the garden after most of the tilling is done. The tiller mixed the lime, manure, and soil together. This being an old farm, seems to have very soft fertile soil already.

After tilling, the garden is covered with plastic again. Those squares are carpet remnants and field stone to weigh the plastic down. The plastic, carpet squares, and garden fence all came with the house. It will be interesting to see how the plastic works. Plastic keeps down weeds but also keeps out alot of rain. So I may have to water more.

After a trip to the nursery: Tomatos, sunflowers, pumpkin, watermelon, and Delicata squash will be planted!

Planting tomatos, in a hole cut in the plastic. Here you can see more lime and manure going in, right where I'm planting. Nourishment to provide many big tomatos!

Meanwhile blossoms of an unknown type...

Everything planted! I've left alot of room for pumpkin and squash to spread over, and I may plant more things.

Blueberries June 3

Blueberries June 4


