Lilybell
 Stuart
 In the following pictures I install textured panels on the vaulted ceiling, and border the top & bottom of the panels using trim made from planks.
Picture below shows the making of trim to go above and below textured panels: 5 x 1 planks, nailing screen strip to side for a beaded effect as I had done in living room:


 Below, 5x1 with (right) and without (left) screen nailed in.


 Picture below shows wider trim I put in around windows, and the chair rail with star rosette from previous photo.
 Picture below shows small shelf to right of door. Door (unhinged) on right is antique from New Bedford, I believe there is an earlier post about this door. The smaller door in this picture is eave access hatch.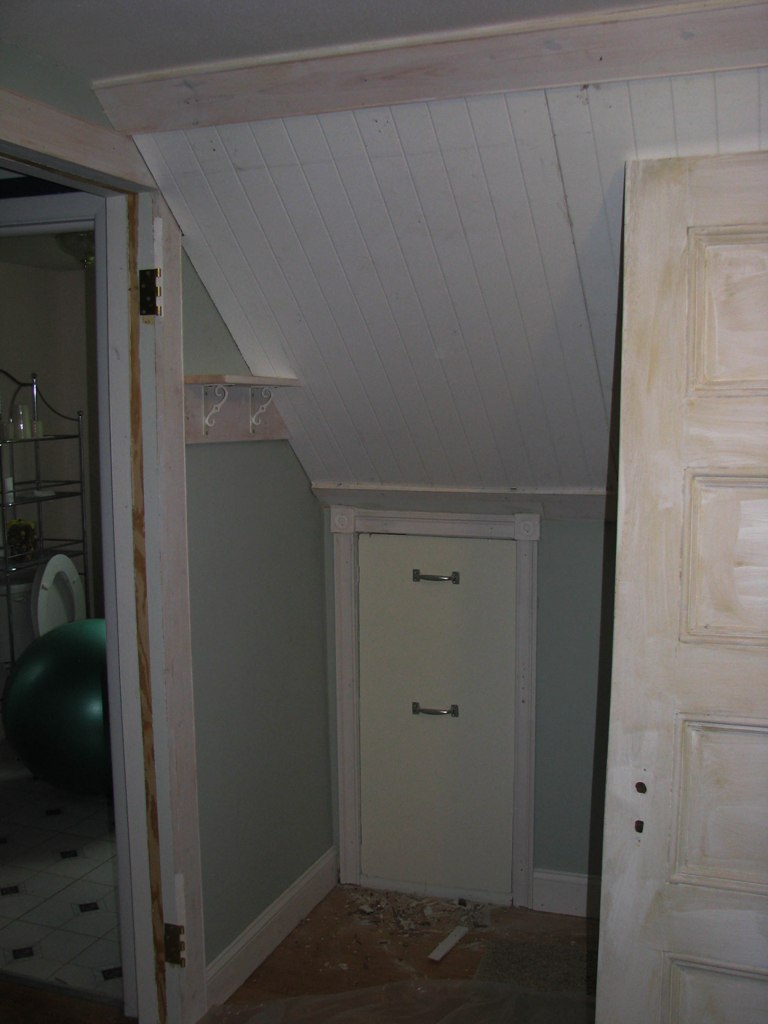


 After making wire connections....
 Hole cutout for new light switch:


The following pictures are before hosting a party last weekend, when the house is always cleanest.
Painted cabinets in picture below. Same exact view as above, 2 1/2 years later. Compare the square upper cabinet door tops to the previous curved.
 The upper right door above stove still needs to be replaced, see the curved top? Because HD messed up the order and had to send a replacement.
On wall opposite cabinets, antique photographs & prints from around or before 1900 help define the association to the era:
 The replacement cabinet doors were easy to order from Home Depot because the previous doors were also from there. They were super easy to re-install because the hardware cutouts matched the existing hinges.


 peppers & butternut


In this post there is much foliage to be seen between Greenfield and North Adams, in northwest Massachusetts. You'll see a series of p...


